Important! Please be sure you have the proper tools for this disassembly, as well as a dust free environment you can create. I recommend that latex gloves be used to prevent fingerprints from showing on the lcd and other visible areas. Be sure to remember the dissasembly steps, as you will need to put it back together once you are done.
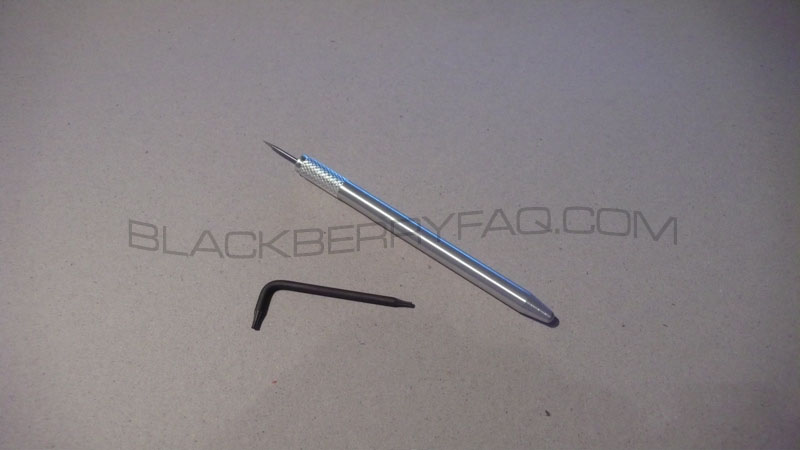
T-6 Driver, Prying Tool
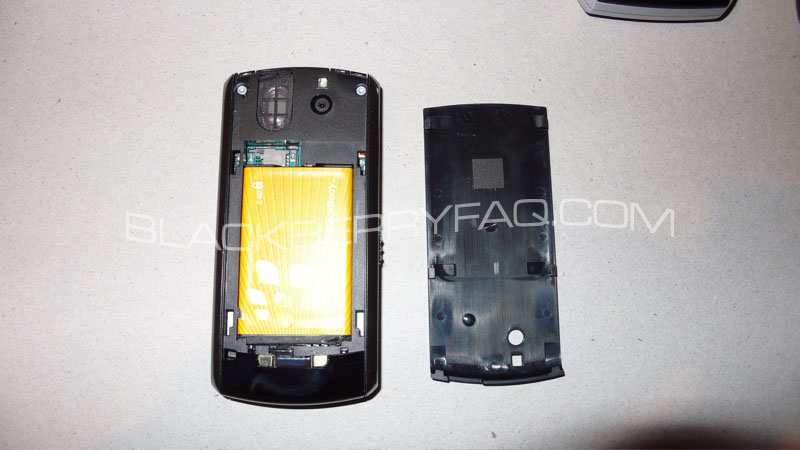
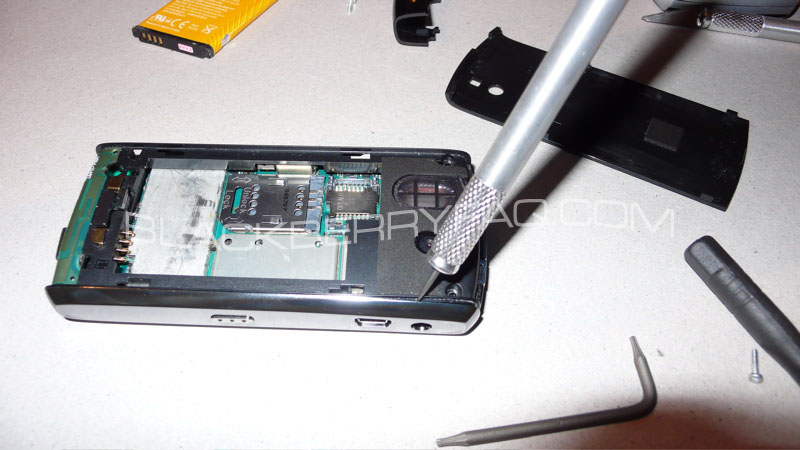
Use the Prying tool, to slowly remove the bottom plastic cover to expose the screws below, unclip the two top clips, and then pull down, this is the most difficult part of disassembly as this piece is very fragile and easy to break. After doing so, unscrew the bottom screws, and the top screws as well (4 in total thus far)

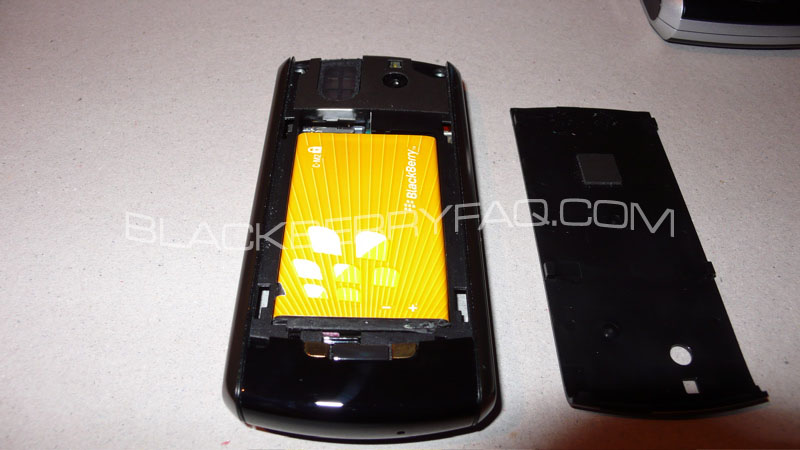
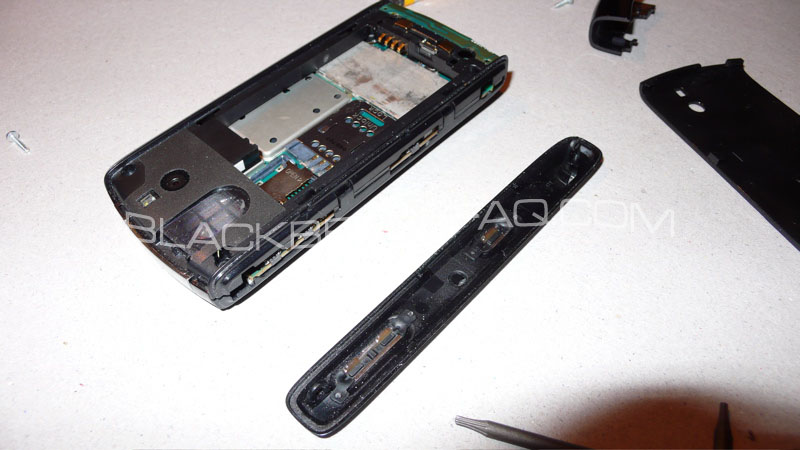
Use the Prying tool once more, remove the side covers, two clips per side, per piece, these are easy to get off, but be very careful to not break the clips.
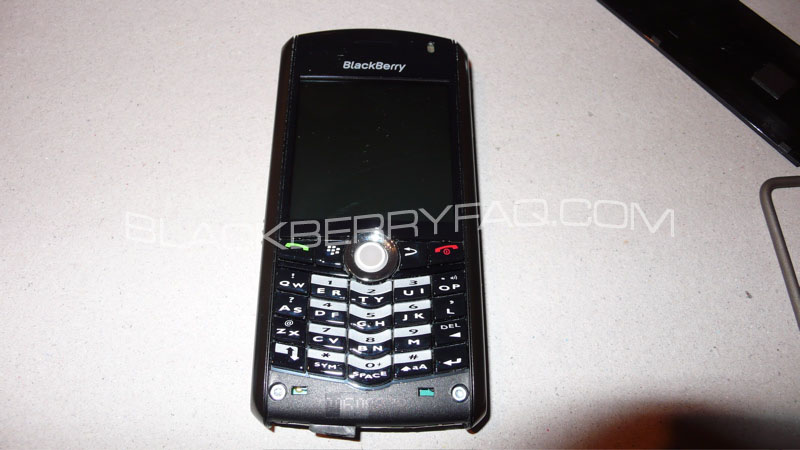
With the sides removed, you can now remove the front cover, and expose the lcd and keypad
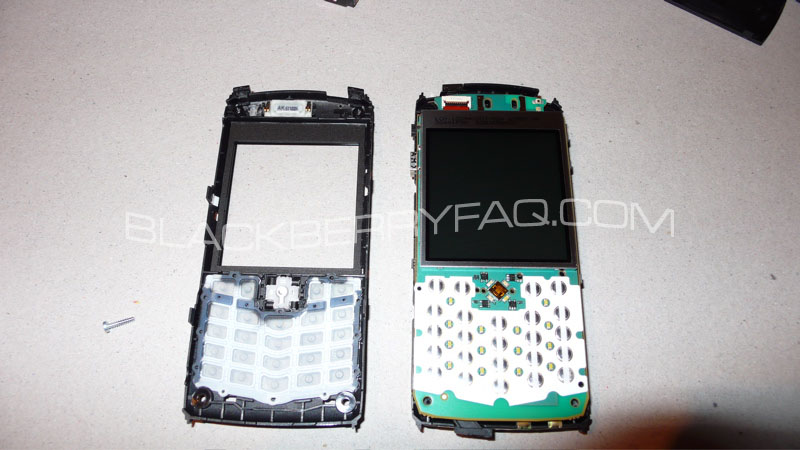
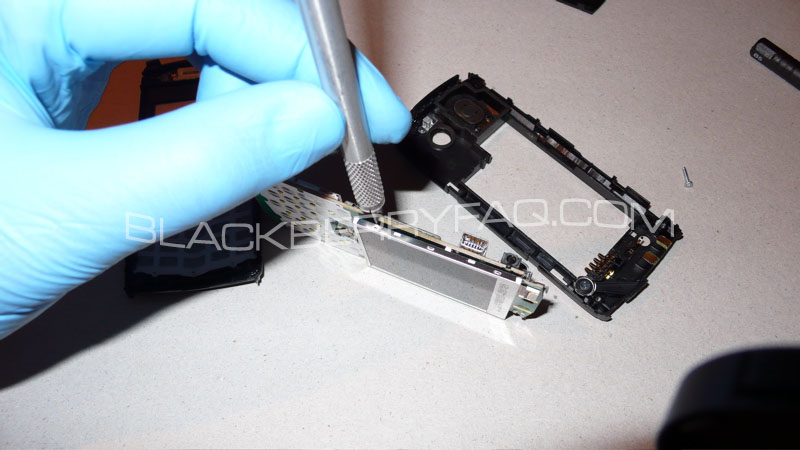
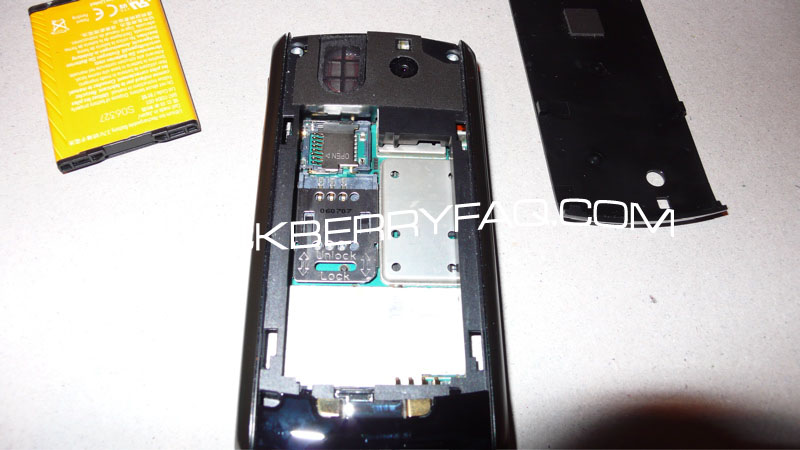
This exposes all of the internal workings of the BlackBerry 8100
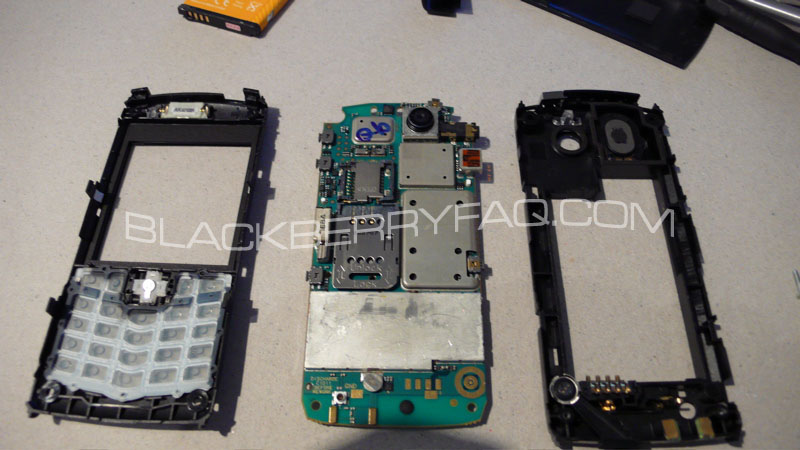
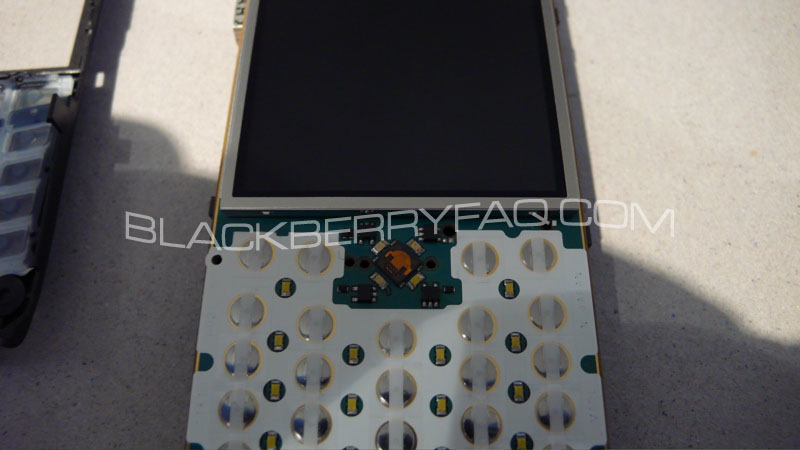
The LCD is held on using double sided tape, and seems very thin and flexible. I highly doubt that this lcd is user replaceable (at least with ease) like other BlackBerry LCD's are.
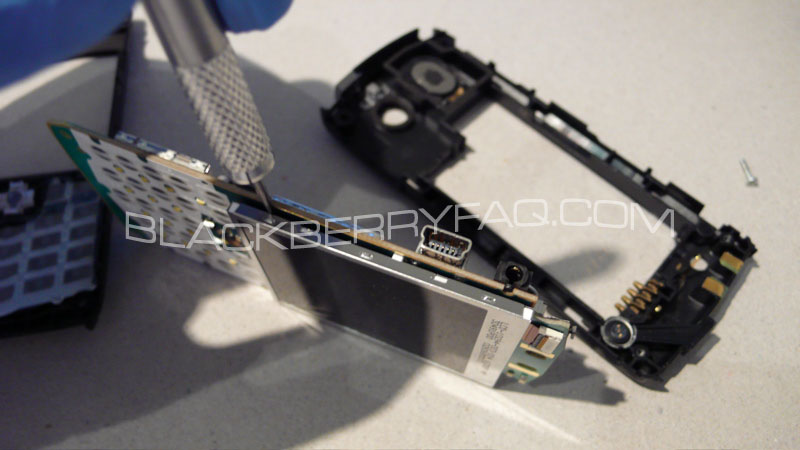
This ensures that your lcd is left fingerprint free, and nothing is damaged internally from skin oil.