![]()
| Computer | Friends | Games | Information | Local | Media | Search | Webpages |
|
| Steps for creating transparent (alpha) textures in Gimp 2.6 | |
|---|---|
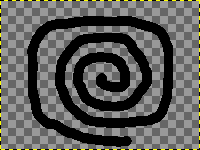
 | One: Started off with a simple flat (no layers or alpha) image... 200 X 150, white background. |
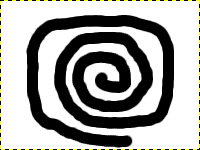 | Two: Added a beautiful black swirl thingy to my basic image... |
 | Three: Clicked on the Fuzzy Select tool (on top row, 4th from the left (magic wand)). |
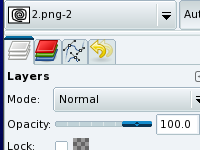 | Four: Right clicked in the Layer area (image here shows the top of it) and selected "Add Alpha Channel". |
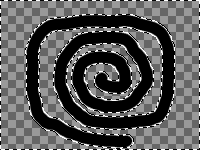 | Five: Clicked on the white background in my image and hit the delete key (on the keyboard) and gimp shows me the checkerboard (meaning transparent) background. I see white edges around my swirl thingy... didn't want that. |
 | Six: I used CTRL + Z (to undo), and clicked "Select" - "Grow..." and used a value of 1... then I clicked "Select" - "Feather..." and used a value of 1 again. While still selected I hit delete again and the beautiful swirl thingy had no white edges. |
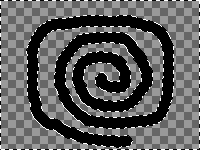
 | Seven: This image shows the how the swirl thingy appears in gimp without anything selected. |
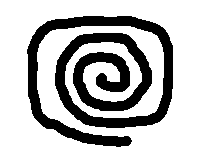 | Here is the finished image, this page was intentionally made slightly blue in hopes of showing the transparency better. This image is not very smooth looking because I worked with it at this size, typically I would work on the image at least double the size, then once finished scale it to the size I want. |
| Created using 100% Free software: Gimp 2.6.7, powered by Mandriva One (it's Linux!). | |
|
Copyright© 1995-2009 · Pure Logic Co. · Last Modified: 09/09/2009 |
|